In previous grades, we have explored symmetry in rangolis, masks, bead
strings and in buildings.
Let us explore more about symmetry.
Let Us Do
1. Ink Design
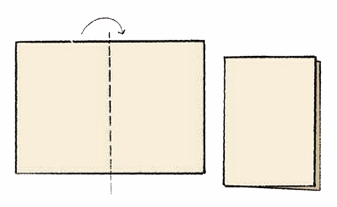
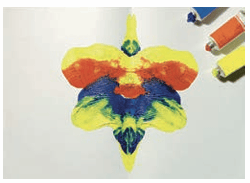
Step 1: Take a sheet of paper and fold it in half.
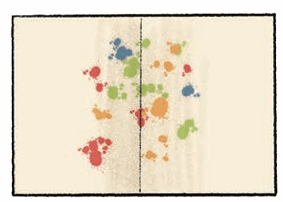
Step 2: Open it and sprinkle some drops of water colours in the centre of the fold.
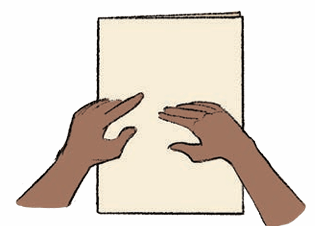
Step 3: Press it to spread the colour evenly.
Step 4: Look what you made!
Is it a symmetrical pattern?
Where would you draw the line that divides this design into two equal halves? Isn’t this line called the line of symmetry? I made it while making masks and rangolis in Grade 3 too.
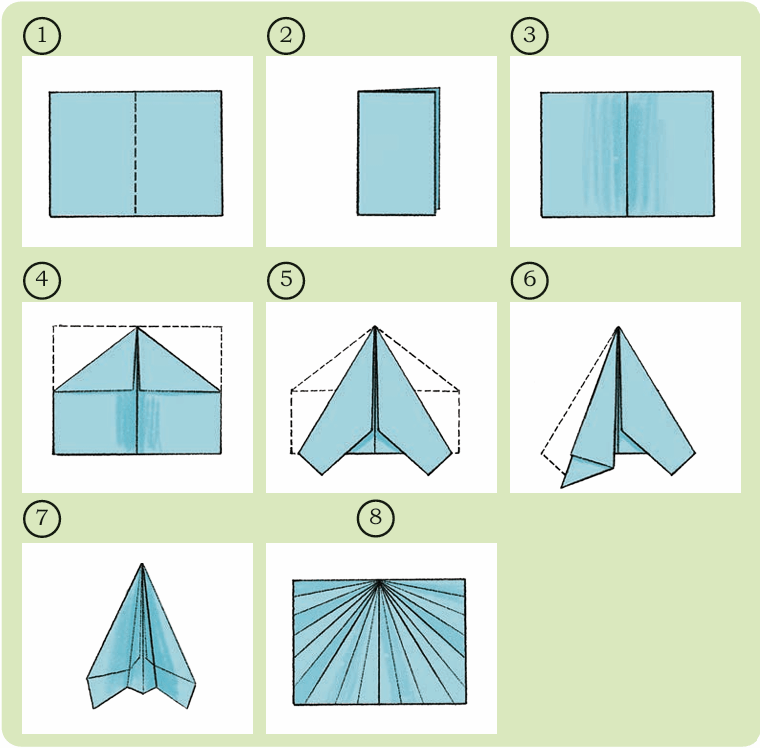
2. Making a paper airplane
Follow the steps.
a) Mark the line of symmetry in Fig. 3, Fig. 4, and Fig. 5.
b) How many lines of symmetry can you see in Fig. 8?
c) Where will you place a mirror to see the reflection of the right half
side of Fig. 8? Will it look the same as the left half side?
d) Fly the plane.
e) Will the plane fly if there is no line of symmetry?
f) Try to make an asymmetrical plane.
g) Fly both the planes and see which plane flies for a longer time.
h) Share your observations with your friends.
3. Holes and Cuts
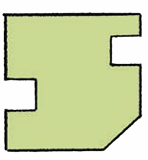
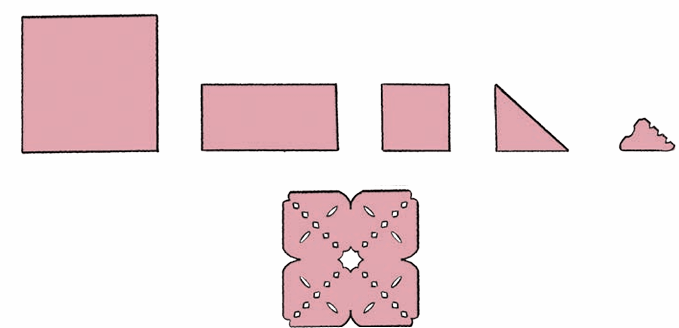
Mini has made this design by folding and cutting paper.
Now it’s your turn! Take a square sheet of paper. Do as instructed below.
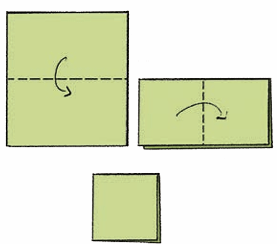
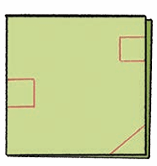
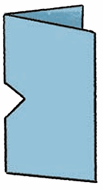
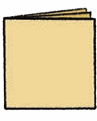
Let us see what Rani is making. Rani takes a piece of paper and folds it twice.
She makes a straight cut at the corner and cuts out two squares on two sides as shown in the picture.
Challenge 1: Where would the hole and cut appear when you open the paper?
Challenge 2: Fold a piece of paper once; put two cuts in the middle as shown. How many sides will this shape have when you open the folded paper?
Challenge 3: Fold a paper twice. Where would you cut to
make a square hole in the center of the paper? How many cuts are required?
4. Complete the designs below
Let Us Do
Symmetry in shapes
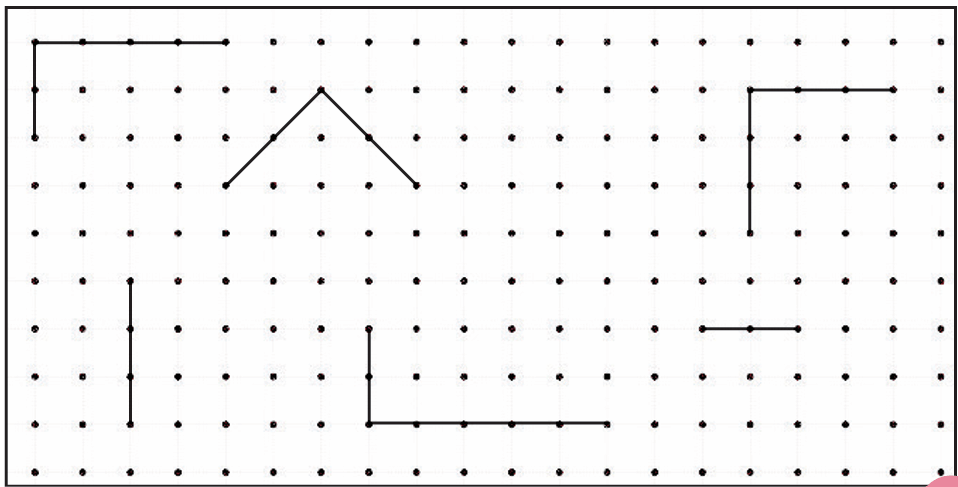
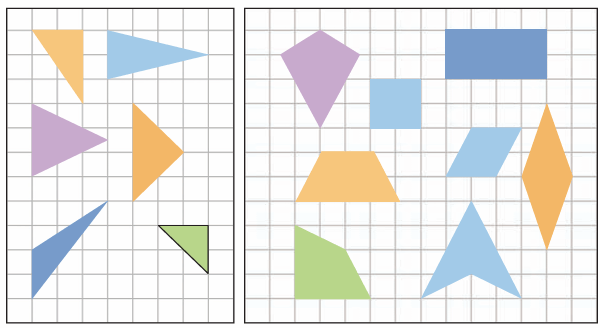
1. Look at the shapes given along the border. Draw these shapes on the dot grid. Which of the shapes are symmetrical? Draw the lines of symmetry.
2. Games with a Mirror
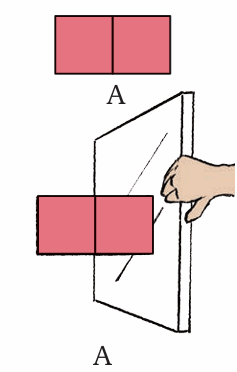
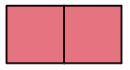
a) Where should we place the mirror in shape A to get the shapes given below?
1
2
3
4
5
6
b) Circle the numbers whose mirror image is the same number.
181
____
181
____
686
____
686
____
Which digits from 0 to 9 have the same mirror image? _______
Make some 4-digit numbers such that the mirror image is the same number. Where would you keep the mirror in each case? How many such numbers can you make?
_____________________ _____________________ Guess my number. It is a 3-digit number near 120 whose mirror image is the same number. Where is the mirror kept?
I will call this line a mirror line or line of reflection.
c) Make similar questions and ask your friends to guess the numbers.
3. What do you notice about the letters written on the ambulance? Why are they written this way? Discuss.
Can you guess what I have written? Where did I keep the mirror?
Can you identify these words? Where will you place the mirror to read the following words correctly?
Now, you try to write some words/names in this way and challenge your
friends to guess them.
Can you also try doing this with the script of your own language?
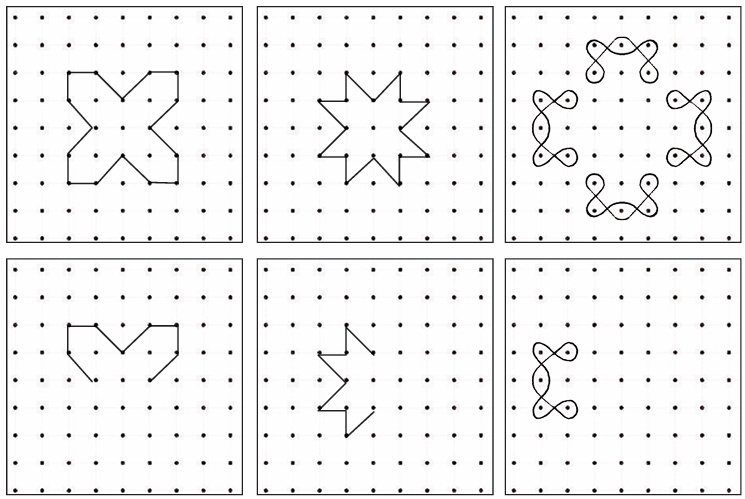
4. Complete the following to make symmetrical shapes.
5. Observe the shapes. How many sides does each shape have?
How many lines of symmetry does each shape have? You may trace these shapes and check the lines of symmetry by folding the shapes.
Tiling the Tiles
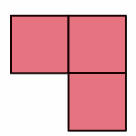
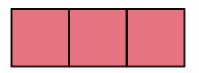
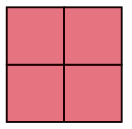
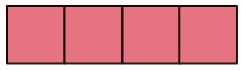
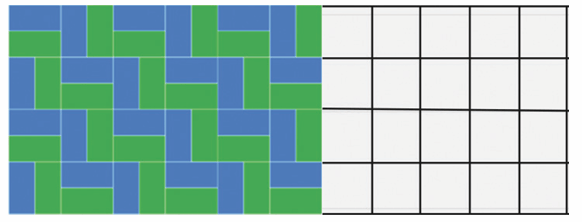
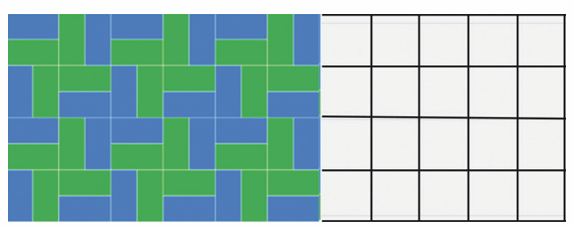
Here are some patterns with tiles. Identify the repeating unit (tile) and
continue the patterns.
Note for Teachers: Let the students realise that just by changing the position and colour, different tiles can be created. Here, students may identify different repeating units as tiles. Let the students use terms, such as sliding, flipping, rotating, standing, sleeping, etc. Students may also see a group of 8 rectangles as a repeating unit.
Tiles at the Tile Shop
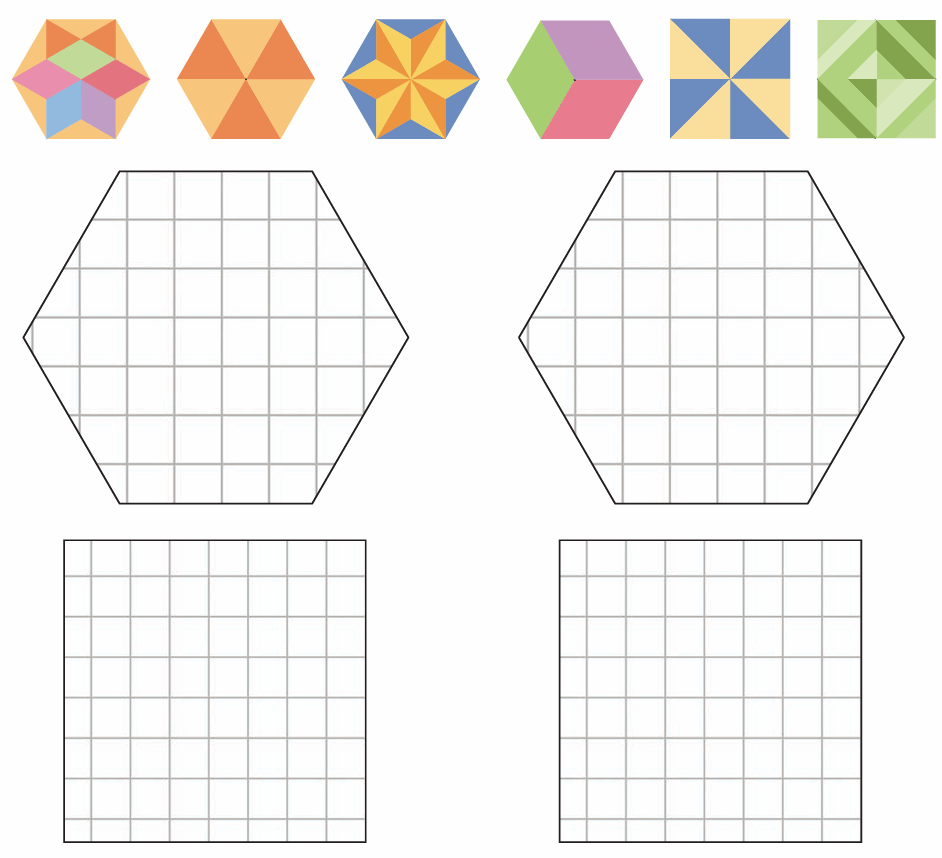
Bablu Chacha makes beautiful tiles of the kinds shown below. Design
creative tiles of your own in the spaces given below. You may use a
rangometry kit or shape cutouts.
1. Which shapes have you used to make the tiles?
2. Which of the tiles are symmetrical? Draw the lines of symmetry (if any).
3. Make more tiles by joining two or more shapes. Trace them in your
notebook to create paths with no gaps or overlaps.
4. Look at the following shapes. What do you notice? Discuss.
Let Us Do
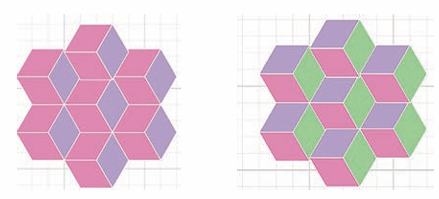
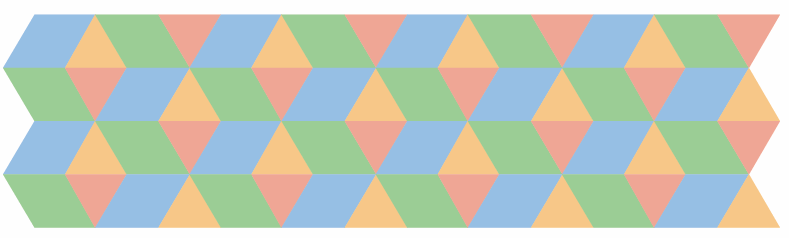
1. Make floor patterns with your tile. Mini has made a floor pattern as shown below.
Remember there should be no overlaps and no gaps.
Note for Teachers: Encourage students to ask questions about the two designs. For example, how many shapes have been used? Would the design look the same if only one colour is used? Encourage children to create different designs using the same shapes with different colours.
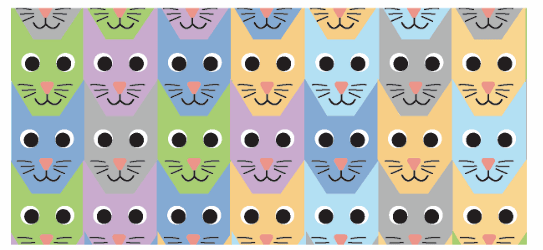
2. Making a catty wall!
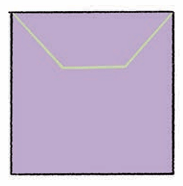
Step 1: Take a square piece of paper. Mark as shown to make the cat’s head and ears.
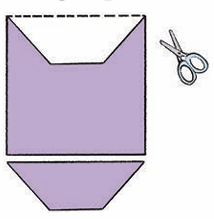
Step 2: Now, cut along the outline and slide the top piece down to align with the larger piece.
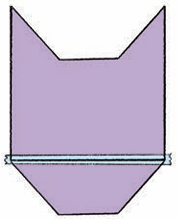
Step 3: Tape the pieces together.
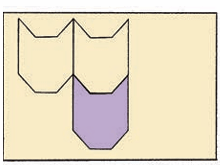
Step 4: Now the real fun begins! Trace the outline of the cat pattern on a large piece of paper and make its face.
Your wall is ready.
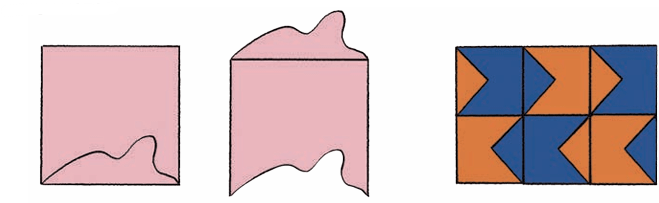
Create more of these tiles. Some ideas to make creative wall patterns are
given below.
Isn’t it fun? Just cut, slide, and paste. Your tile is ready to make a creative wall.
The tiles still fit perfectly without any gaps or overlaps.
3. Let us go on a nature walk (Project time)
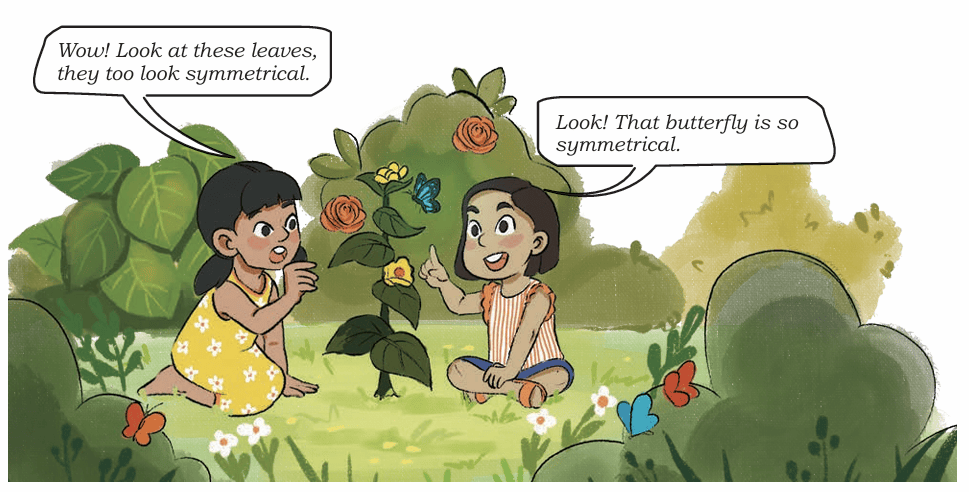
Wow! Look at these leaves, they too look symmetrical.
Look! That butterfly is so symmetrical.
Go for a nature walk to a nearby park or around your school with your teacher or your parents. Observe the patterns, designs, or symmetry around you carefully. Collect leaves, petals, and flowers that have fallen on the ground.
In your project file:
• Categorise the leaves into symmetrical and non-symmetrical.
• Make different designs and patterns with leaves and flowers.
• Make a greeting card using imprints of leaves or dry flowers.
• Create animals or designs using leaves and flowers.





 Isn’t it fun? Just cut, slide, and paste. Your tile is ready to make a creative wall.