8 Playing with Constructions
8.1 Artwork
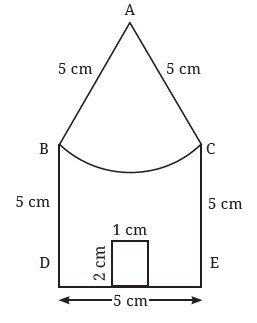
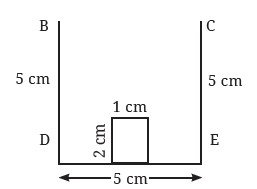
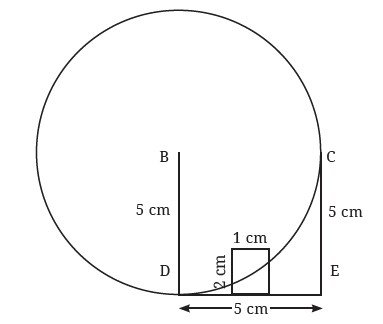
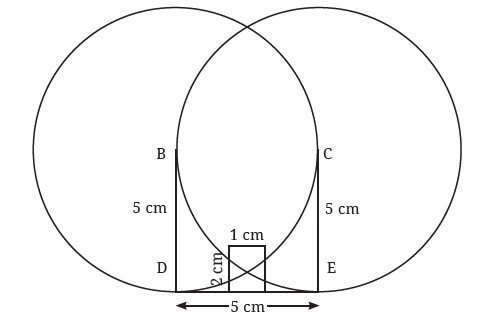
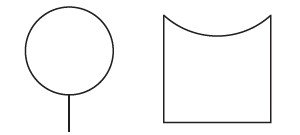
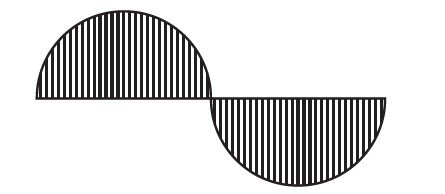
Observe the following figures and try drawing them freehand.
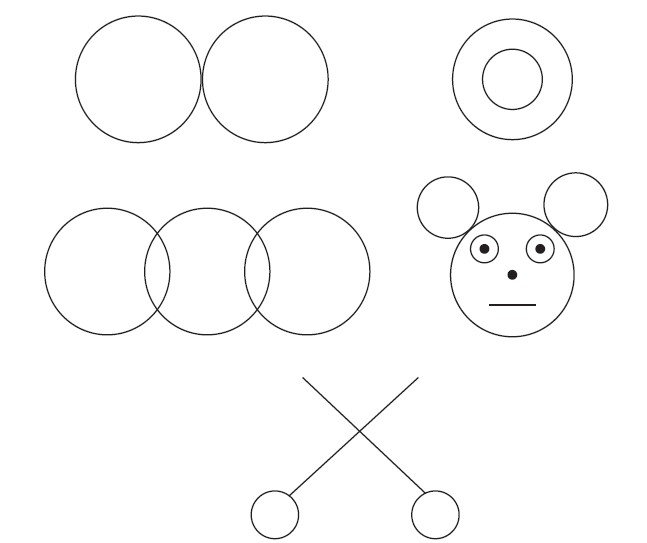
Fig. 8.1
Now, arm yourself with a ruler and a compass. Let us explore if we can draw these figures with these tools and get familiar with a compass.
Observe the way a compass is made. What can one draw with the compass? Explore!
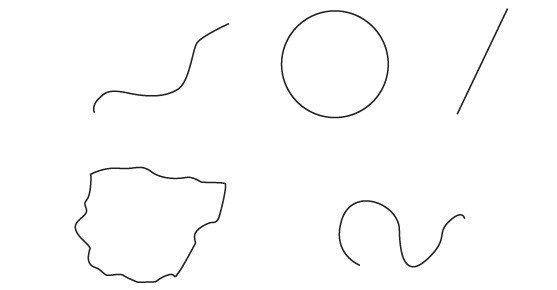
Do you know what curves are? They are any shapes that can be drawn on paper with a pencil, and include straight lines, circles and other figures as shown below.
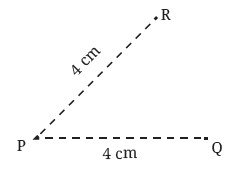
Mark a point ‘P’ in your notebook. Then, mark as many points as possible, in different directions, that are 4 cm away from P.
Think: Imagine marking all the points of 4 cm distance from the point P. How would they look? Try to draw it and verify if it is correct by taking some points on the curve and checking if their distances from P are indeed 4 cm.
Explore, if you have not already done so, and see if a compass can be used for this purpose.
You can start by marking a few points of distance 4 cm from P using the compass. How can this be done?
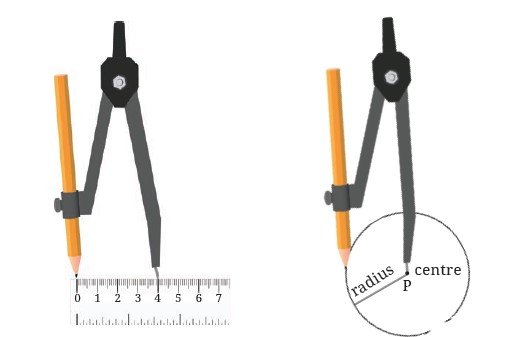
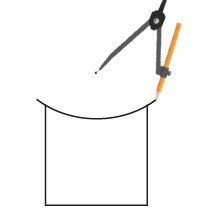
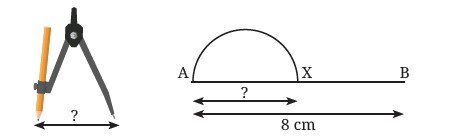
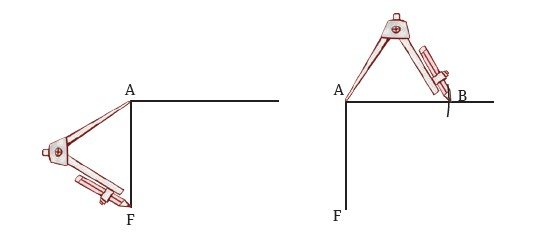
You will have to open up the compass against a ruler (see Fig. 8.2) such that the distance between the tip of the compass and the pencil is 4 cm. Now, try to get the full curve. Hint: Keep the point of the compass fixed moving only the pencil. What is the shape of the curve? It is a circle! Take a point on the circle. What will be its distance from P— equal to 4 cm, less than 4 cm or greater than 4 cm? Similarly, what will be the distance between P and another point on the circle? As shown in the figure, the point P is called the centre of the circle and the distance between the centre and any point on the circle is called the radius of the circle.
Having explored the use of a compass, go ahead and recreate the images in Fig. 8.1.
Can you make the figures look as good as the figures shown there?
Try again if you want to!
Also, has the use of instruments made the construction easier?
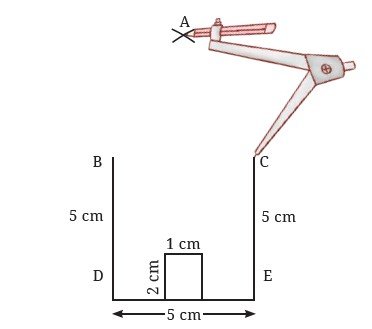
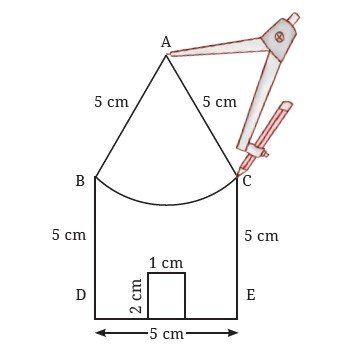
Now try constructing the following figures.
Construct
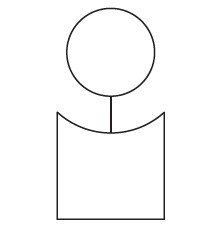
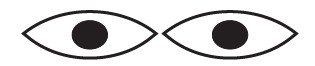
1. A Person How will you draw this?
8.2 Squares and Rectangles
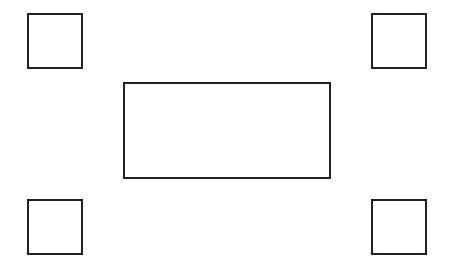
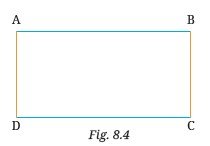
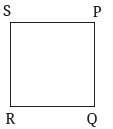
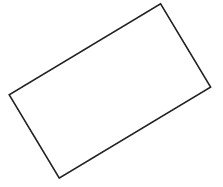
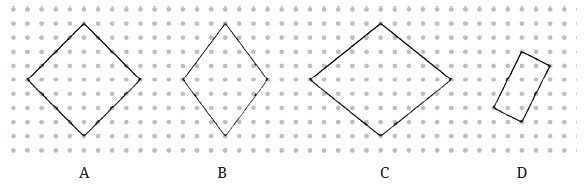
Now, let us look at some basic figures having straight lines in their boundary.

8.3 Constructing Squares and Rectangles
Now, let us start constructing squares and rectangles. How would you construct a square with a side of 6 cm?
For help, you can see the following figures. A square PQRS of sidelength 6 cm is constructed.
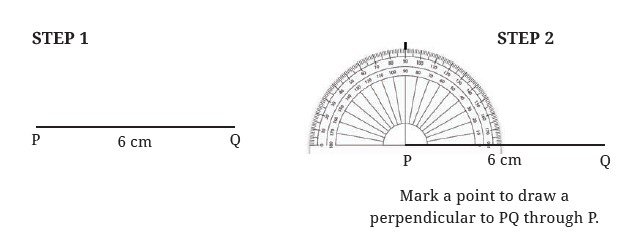
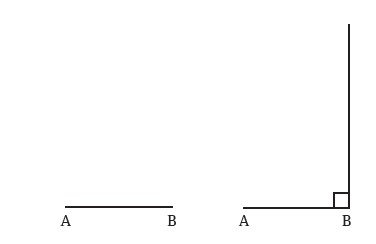
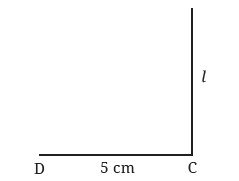
Mark a point to draw a perpendicular to PQ through P.
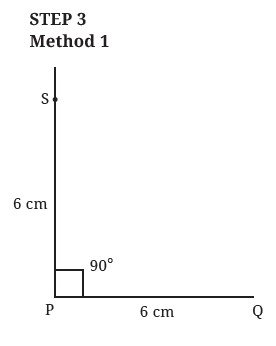
Mark S on the perpendicular such that
PS = 6 cm using a ruler.
Method 2
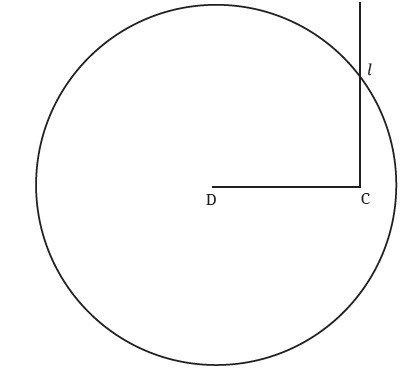
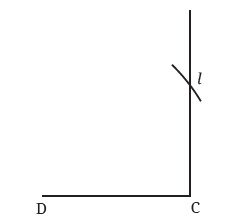
This can also be done using a compass.
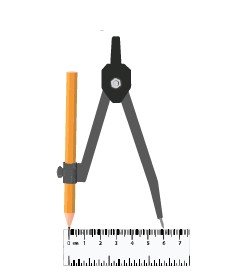
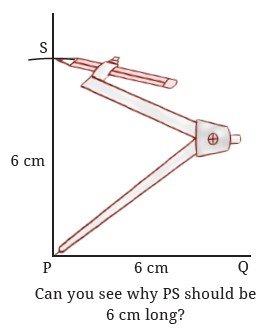
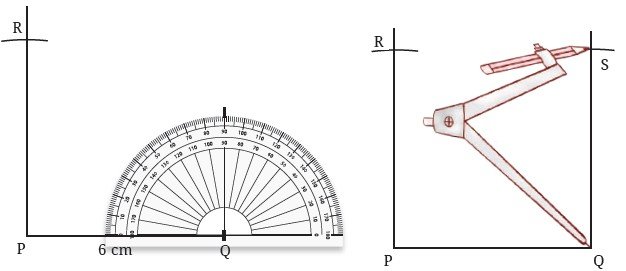
Step 4 Draw a perpendicular to line segment PQ through Q.
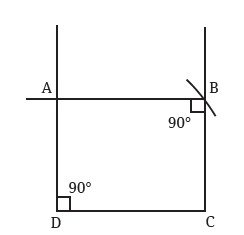
Step 5 If we had used the compass, then the next point can easily be marked using it!
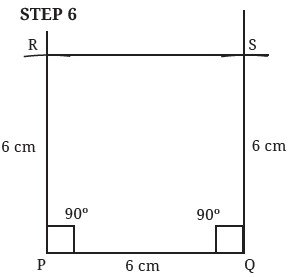
How long is the side RS and what
are the measures of ∠R and ∠S?
8.4 An Exploration in Rectangles
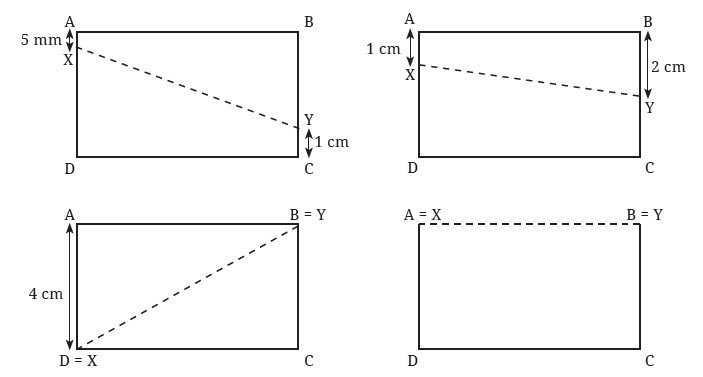
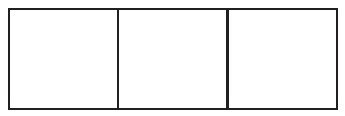
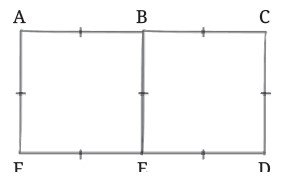
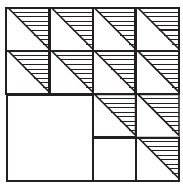
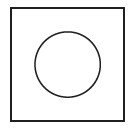
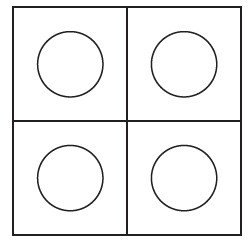
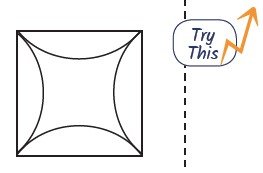
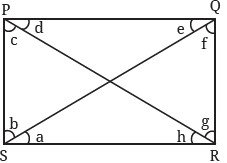
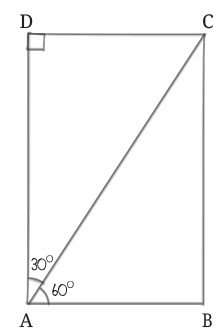
8.5 Exploring Diagonals of Rectangles and Squares
8.6 P oints E quidistant from Two Given P oints