
PART- 1
WORK WITH LIFE FORMS
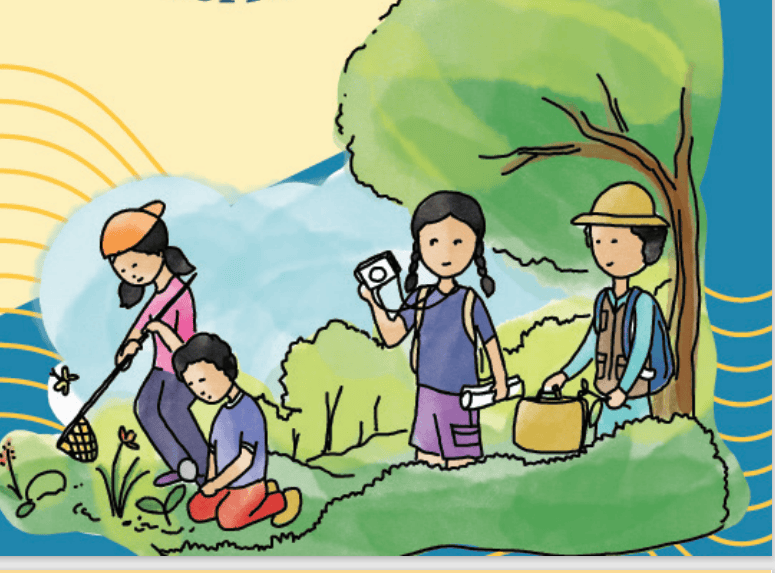
‘Life forms’ include all living things on earth. They include human beings, animals, birds, fish, plants, insects, and even bacteria and viruses. Projects on Work with Life Forms will help you work with living things in different ways. You can take up projects related to growing plants in various ways, recording the biodiversity around you, surveying medicinal plants, learning to care for domestic animals, and maintaining a nature journal. It is up to you to imagine all that you can do in the activities with your peers.
Two examples of projects are given in this section. You must take up only one project. You can either choose one of these projects or you can design a project of your own choice with the help of your teacher.
Project 1
School Kitchen Garden
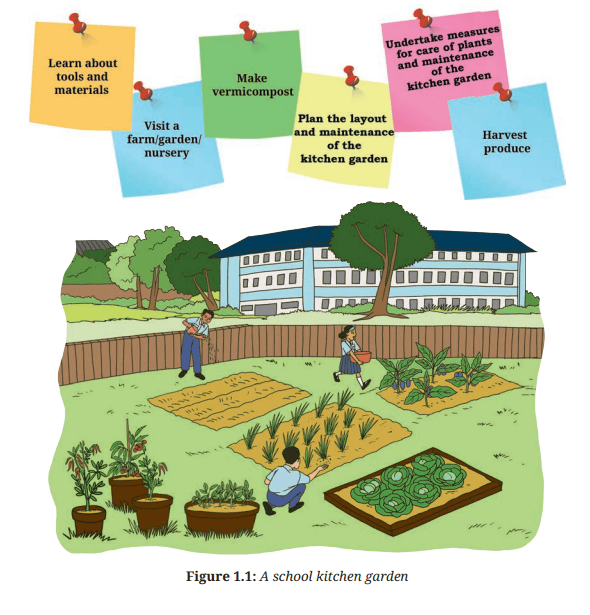
This project will help you learn about growing plants for food. You will create a kitchen garden on your school campus, either in plant beds or in pots (Figure 1.1).
As part of the project, you will be able to:
We all enjoy different kinds of food. Some of us like to eat fresh
fruits and vegetables, some like vegetables cooked with herbs and
spices, yet others like preserved food, such as pickles and tomato
sauce. Most of our food which comes from farms, vegetables,
such as brinjal (eggplant), cucumber, chilli or herbs, coriander,
and mint, can be grown in a kitchen garden.
A kitchen garden, also known as a vegetable garden, is a garden where fruits, vegetables, and herbs are grown. The ‘produce’ or yield from the garden is usually sufficient to meet a family’s needs.
In this project you will learn about growing plants for food in your school. You will create a kitchen garden in your school campus, either in plant beds or in pots (Figure 1.1)
What will I be able to do?
What will I need?
To carry out this project, you will need various tools and materials. Let us first try to learn about them (Table 1.1).
|
Tools/Materials |
Sketch |
Uses |
|
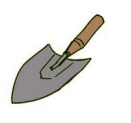
1. Garden trowel |
|
This is used for digging up soil and planting seedlings. |
|
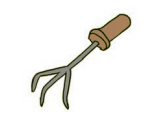
2. Hand cultivator |
|
This tool is used for loosening soil, removing weeds, and mixing manure in soil. |
|
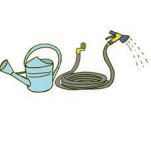
3. Watering can with rose attachment or hose pipe |
|
These are used for watering plant beds or pots, seedlings and plants. |
|
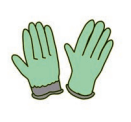
4. Gardening gloves (made of rubber) |
|
This protective gear is used to protect hands and to provide a firm grip on tools. |
|
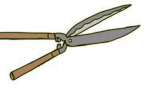
5. Gardening shears |
|
These are used for cutting branches, twigs and stems. |
|
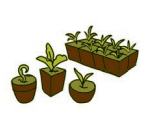
6. Seeds, seedlings, bulbs, rhizomes, cuttings, and so on. |
|
These are used for growing plants in the garden. |
|
7. Potting soil or mix. (A potting mix is a blend of material like compost, perlite vermiculite, soil, coir or peat-moss) |
|
This material is used for filling containers or pots. |
|
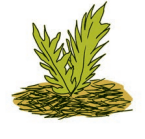
8. Organic mulching materials, such as grain straw, leaf mold, shredded leaves, grass clippings, etc. |
|
They are used to retain moisture and suppress growth of weeds. |
|
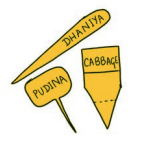
9. Plant labels |
|
They are used to identify different plants in the garden. |
|
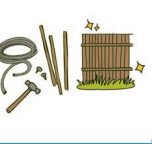
10. Old pipes/Polyvinyl Chloride (PVC) pipes/wooden sticks/bamboo poles/metal poles and string |
|
These are used to make a protective fence. |
|
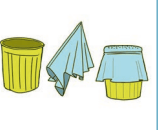
11. Bin and tarpaulin/ scrap of old thick cloth |
|
These are used for preparing compost or vermicompost, which provide additional nutrition to plants. |
|
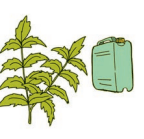
12. Neem leaves and jerry can/large bottle |
|
These materials may be used for preparing organic pesticide, which is used to kill or keep away pests or insects that are harmful for plants. |
|
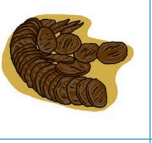
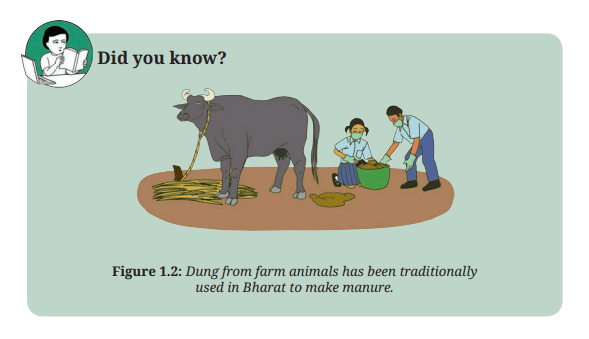
13. Manure |
|
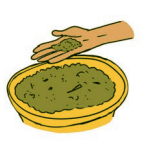
Manure is a natural fertiliser prepared from the dung of farm animals, which is used to provide additional nutrition to plants (Figure 1.2). |
|
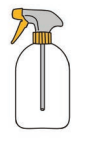
14. Spray bottle |
|
It is used to spray small amount of a liquid. |
|
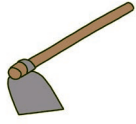
15. Spade |
|
It is a tool used for digging, edging and moving soil or other materials. |
Note: If you cannot get all these tools and materials, do not worry. You
can ask your teacher or the expert for alternatives
How do I keep myself and others safe?
Some key precautions to be followed while doing kitchen
gardening are as follows:
- Ask your teacher about the correct way to lift pots. If you feel the pot is too heavy, get someone to help you, and do not try to lift it alone (Figure 1.3).
- Wear gloves when handling
tools and materials to protect
your skin. Ensure they fit well
so that you have a good grip
on tools .
- Follow instructions while using gardening tools and materials.
- Pay attention during demonstrations to understand correct techniques.
- Always ask for help if you are unsure about how to use a tool .
- Regularly clean the tools and equipment, and wipe them
after washing to prevent rusting.
- Ensure tools are stored in an organised manner in a store
or on shelves to prevent anyone from tripping over them.
Internet safety: Ask your teacher for help while using
the Internet. Be careful not to upload or download
anything without checking. Do not share personal
information anywhere.
What do I need to know before I start?
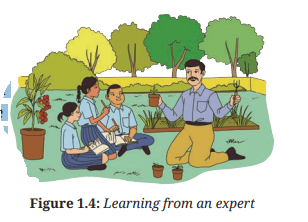
To get first-hand knowledge
of how to make your kitchen
garden, you can visit an
agricultural farm. If there are
no farms near your school, you
can visit a nursery, a garden or
an orchard (Figure 1.4).
Activity 1: Visit to an agricultural farm/nursery/garden to
interact with the farmer/nursery worker/gardener/expert
Did you know?
The science of agriculture and plant life was given a lot of importance in ancient Bharat as the main work was farming and the rearing of animals. The distilled wisdom and experience related to plant health, growth and treatment of diseases was documented in a treatise called ‘Vrikshayurveda’ (Ayurveda for trees).
There were two texts by the same name of Vrikshayurveda, one
written by Salihotra (approximately 400 BCE) and the second one by
Surapala (1000 CE). The only existing copy of a palm leaf manuscript
of Surapala’s Vrikshayurveda is preserved at Oxford University.
The text deals with the cultivation of many species of plants, water
management, soil conservation, fertilisers, various diseases affecting
plants and their treatment.
In the Vrikshayurveda, Surapala encourages the planting of sacred trees like Bilva (Bael or stone apple), Nyagrodha (banyan), Ashwattha (fig) and Neem. The text says that planting trees is one of the means to attain the goals of human life.
Climate change, soil erosion and increasing health concerns have led to renewed interest in the traditional knowledge contained in texts like Vrikshayurveda. This knowledge can be used to maintain the health of the soil, promote good agricultural practices and preserve biodiversity.
What do I have to do?
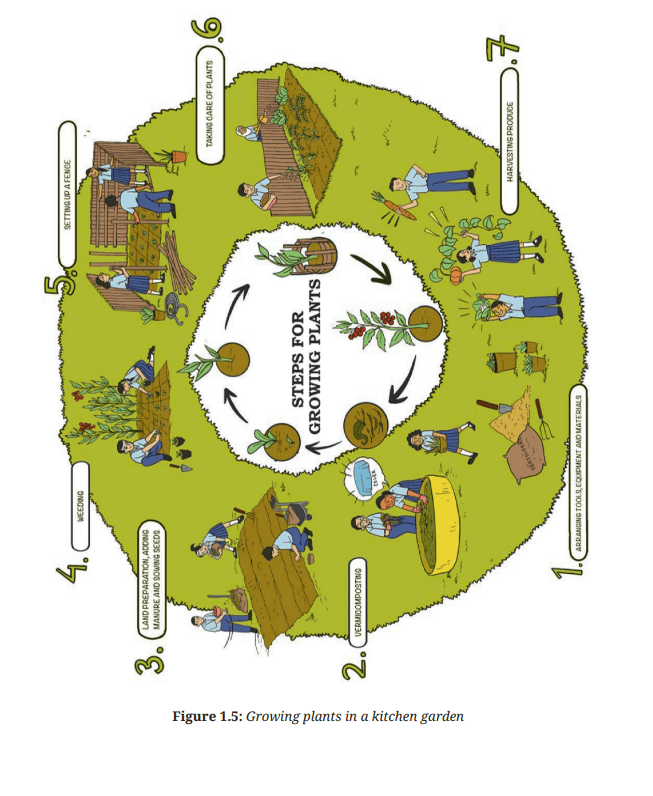
Activity 2: Planning your school kitchen garden
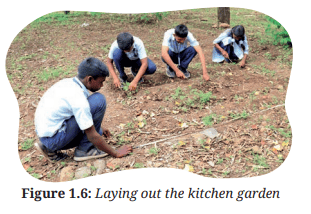
Plants need nutrients to grow. Nutrients refer to specific elements, such as nitrogen, phosphorus and potash that plants absorb from the soil or growth medium for their growth and development. Organic fertilisers, such as manure, compost, vermicompost and green manure and inorganic fertilisers, such as urea and superphosphate are applied to the plants for supplying nutrients.
Activity 3: Making vermicompost
6. The bedding should be kept moist by spraying it with water as needed, but not waterlogged. It should be covered with a lid to retain moisture and prevent pests.
7. Vermicompost from
the bottom of the
bin can be used once
it becomes dark,
crumbly, and earthy
smelling, which
usually happen
within a few months
(Figure 1.7b).
Did you know?
In case earthworms are not available, then you can make compost, using a process slightly different from that for vermicomposting. You can search for the process of making compost on the Internet using the search keywords ‘vermicomposting of solid waste’.
The following questions will help you check your learning: 1. Which materials you used to make the vermicompost?
Activity 4: Preparing the kitchen garden for planting
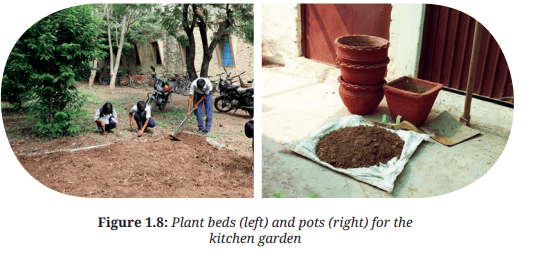 .
.
The soil in plant beds or pots needs to be prepared before sowing the seeds or planting seedlings. You will have to mix manure with the soil as per the directions of your teacher. The following questions will help you check your learning:
1. How did you prepare the soil for planting?
Activity 5: Sowing seeds and planting of seedlings
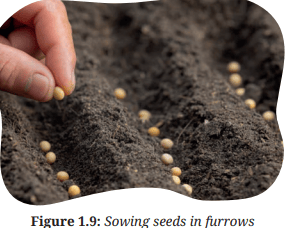
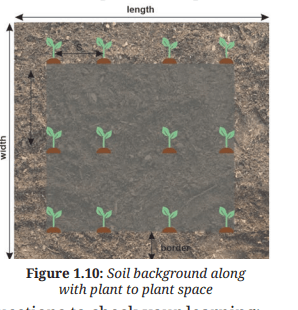
Activity 6: Taking care of plants
Plants need care to make sure they receive the nutrients, water and sunlight needed to thrive. Also, the plants are delicate and must be protected from any harm due to animals, pests, diseases or extreme weather.
General protection of plants include making a fence, companion planting, sanitation, weeding, wind protection, and using organic pesticides against pests and diseases
1. Making a fence
You need to keep the plants safe from other animals and people who may step on them. You can do this by making a fence around your kitchen garden.
(a) The fence can be made using bamboo or locally available material.
(b) Measure the dimensions of the area that needs to be fenced.
(c) Draw a sketch of the area and decide where fence is to be placed.
(d) Collect locally available materials, like bamboo, old pipes
or old wooden sticks for using them as ‘poles’ and use a
strong string to bind the poles and make the fence.
The following questions will help you decide the quantity of materials you need:
1. What are the materials that you will use for fencing?
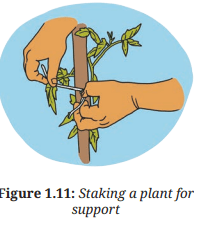
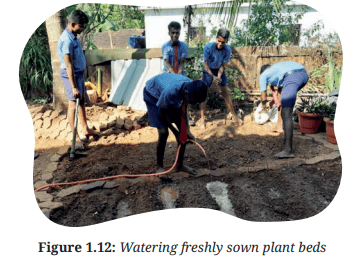
(b) Watering your plants: It is essential to water plants
regularly, ensuring that the soil remains consistently
moist but not waterlogged, as overwatering is generally
harmful for plants. Decide how the plants will be
watered. You can use, a mug and bucket, watering can, or
a pipe or something else
(Figure 1.12). Develop
a schedule to ensure
plants receive sufficient
water, especially during
dry spells. New plants
need more frequent
watering. Water the
plants in early morning
or late afternoon to
minimise water loss due
to evaporation.
The questions below should be answered before watering the
plants as it will help you to ensure watering as per the needs of plants.
1. How do you know when a plant needs water?
Did you know?
Neem based pesticide is an organic pesticide used to control caterpillars, grasshoppers, whitefly and aphids in agricultural crops. You can make an organic pesticide by following the steps given below:
1. Take 500 gram of neem leaves (if possible, you can ask an expert at the local Krishi Vigyan Kendra or Agriculture Research Centre to recommend any other bitter plant leaves), wash them and chop or break them into smaller pieces. You will experience a nice fragrance as the leaves are broken up.
2. Mix the neem leaves with 5 litres of water.
3. Put the mixture in a jerry can/large size bottle and leave it for around 14 days.
4. Separate suspended solids from liquid using a strainer.
5. You can spray this pesticide on your plants using a spray bottle.
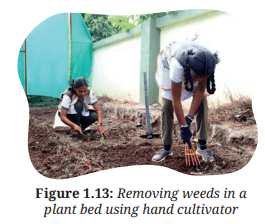
(e) Removing weeds: Check regularly for weeds and remove them as soon as they appear (Figure 1.13). It is good to use a hand, cultivator, if you have one for weeding. You can ask your teacher for an alternative, if hand cultivator is not available.
Decorate Your Garden
Your garden must look beautiful with plants growing neatly in rows and with proper layout and decoration. Think of ways in which you can beautify your garden and act on them. Some things you can do to decorate your kitchen garden are as follows:
1. Use stones to make the flower beds or pots look neat. You can paint these stones using attractive colours.
2. Make decorative items that can be kept outside in the garden, like painted clay pots, paintings made on stones, or using old objects lying around the school to make ‘sculptures’.
3. You can even make a scarecrow to keep the garden safe from birds. You can get some ideas from the work done by Shri Nek Chand, who created a beautiful garden called the Rock Garden using waste material in the Union Territory of Chandigarh.
Activity 7: Observing your plants grow
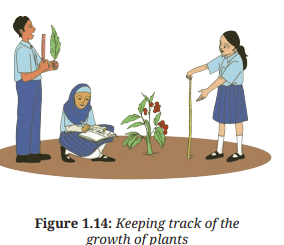
Keep a record of the progress of your kitchen garden by taking
photographs from different angles or drawing sketches or both.
Make sketches or paste the photos in the space given below:
Activity 8: Harvesting
Once ready for
consumption, harvest your
produce (Figure 1.15) and
sort it, based on quality
and size. You must ask your
teacher about the method
to harvest produce. For
example, for leafy greens,
such as lettuce and spinach,
use a cut-and-come-again
approach, harvesting outer
leaves while allowing
the inner leaves to
continue growing. For root
vegetables, like carrots and
radishes, gently loosen the soil around the base of the plant and
pull them out by hand or with the help of a garden trowel. For
produce like tomatoes, brinjals (Figure 1.16) and peppers, use
gardening shears to cut them from the vine, leaving a short stem
attached. Remove any debris, foreign matter, or produce that is
damaged to ensure only the best-quality is retained.
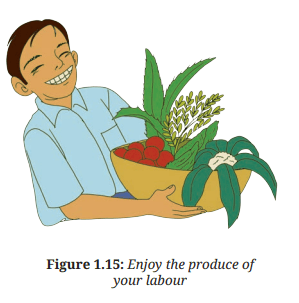
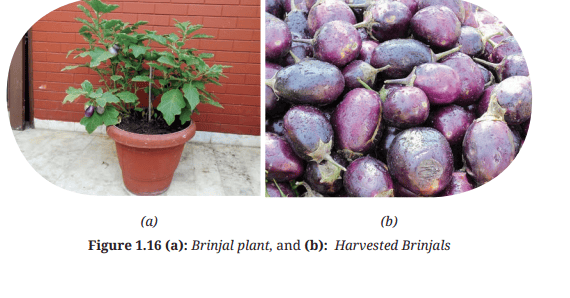
Figure 1.16 (a): Brinjal plant, and (b): Harvested Brinjals
The following questions will help you to check your learning:
1. Which crop(s) you harvested?
(a) ..........................................................
(b) ...........................................................
(c) ...........................................................
2. How did you know they were ready for harvesting?
(a) ..........................................................
(b) .........................................................
(c) .........................................................
3. Which tools did you use to harvest the plants?
.................................................................
...................................................................
...................................................................
..................................................................
4. What precautions you took to avoid damaging the plants while harvesting?
.........................................................
.........................................................
.........................................................
........................................................
5. What did you do with the produce after harvesting from the kitchen garden?
.........................................................
...........................................................
.............................................................
.............................................................
Activity 9: Visit to the vegetable market
Visit the local vegetable market, observe the vegetables and fruits and note the price of different vegetables and fruits. Prepare a price chart (refer to table 1.4) of your vegetables, based on your observation.
Table 1.4: Price chart of vegetable produce in market
Activity 10: Setting a price
You can give the produce from your kitchen garden to the school
kitchen for midday meal or decide what to do based on instructions
with your teacher and peers. Estimating the price of produce from
your kitchen garden involves considering many factors, such as
cost of seeds or seedling, cost on soil amendments, cost of tools
and equipment, label cost, etc. But what if you planned to sell
the produce? You can set a price for each item of your produce.
Discuss how a price is fixed for the produce with your peers and
teacher.
Here is a simple method to learn how to calculate the price after filing the information in table 1.5.
Table 1.5: Estimating price of produce from kitchen garden
Did you know?
Did you know that plants can be grown without soil? Take a cutting of a money plant and place it in an old bottle filled with water. Place the bottle in bright but indirect sunlight. Do remember to change the water every week or so. See what happens!
Smart Kitchen Garden with Artificial Intelligence
You can design and make a smart kitchen garden utilising Artificial
Intelligence (AI). AI assists in plant identification, watering plants,
recording plant growth, identifying pests and whatever else you need.
I. Planning and Designing using AI
1. Search for suitable vegetables and herbs and learn when they should be planted. AI apps on mobile phone suggest plants based on your location.
2. Plan the layout of the garden bed or the placement of the pots,
considering sunlight and spacing requirements. Some plants
grow better when they are surrounded by others while others
need space .
II. Making the Kitchen Garden
1. Fill the raised bed or pots with appropriate potting mix and ensure that extra water drains out.
2. Plant seeds or seedlings following the recommended spacing and depth.
3. Label each plant with its name and planting date for easy
identification. You can print the labels or you can even paste a
photograph of the plant on the label.
III. Smart Care and Monitoring
Search for suitable garden management apps or garden growth recording apps. Observe the plants regularly and use the app to track their progress, identifying potential issues like pests or diseases.
1. Use an image recognition app to identify any unfamiliar plants that may appear. These could be weeds or plants growing from seeds that were left over from the previous season.
2. Based on AI app suggestions and additional Internet searches, determine appropriate watering schedules, manure to be added and early detection and control of pests
3. Document observations of plant growth and other things that
interest you, creating a record of your learning journey.
Geotagging, which refers to the process of adding geographical
information to various forms of media, such as photos, videos,
websites or social media posts can be created for your kitchen garden.
You can use digital technologies for geotagging your garden (even if it
is in pots).
What did I learn from others?
Write three most important things that you learned from others (they could be about making a kitchen garden, looking after plants or simply working with others). .................................................
.................................................
........................ ......................
What did I do and how long did it take?
It is important to understand how much time is required for an
activity to be completed.
Calculate the approximate number of periods you spent on
each activity. Mark them on the timeline below. If you did more
than the activities suggested in the book, please add the number
and time taken.