16
STILL LIFE IN COLOUR

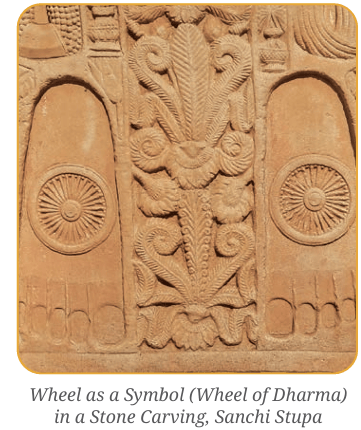
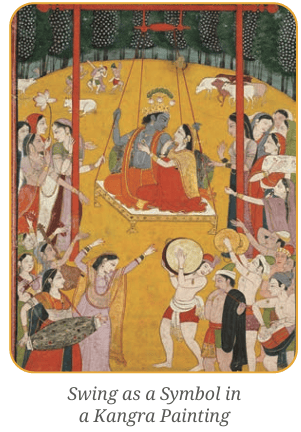
From cave paintings to temple sculptures, objects were an integral part of artworks, but were never the main subject. In Indian art, objects were depicted to convey symbolic meanings and were an integral part of the composition. For example, the Dharma Chakra or wheel of law, weapons and musical instruments were held by deities, courtiers, and so on.
Around the 16th century, a big change took place. Objects became the main subject of artworks. Artists got interested in arranging and studying a variety of natural, and human-made objects which remained still. The skill in painting it was in the manner that not only make it appear three-dimensional but as if life was added to them. This is why such artworks came to be called still life.
Around the 16th century, a big change took place. Objects became the main subject of artworks. Artists got interested in arranging and studying a variety of natural, and human-made objects which remained still. The skill in painting it was in the manner that not only make it appear three-dimensional but as if life was added to them. This is why such artworks came to be called still life.
Still life are not restricted only to drawing and painting. Artists create still life compositions as photographs and sculptures too. Today, still life compositions are also used to create product advertisements for magazines, hoardings, newspapers, television, and so on.
Make small groups according to your shared interests before beginning this activity.
Step 1: Choosing objects for a still life
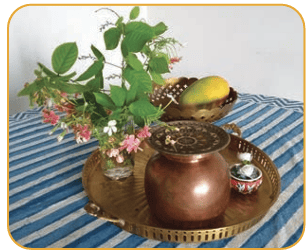
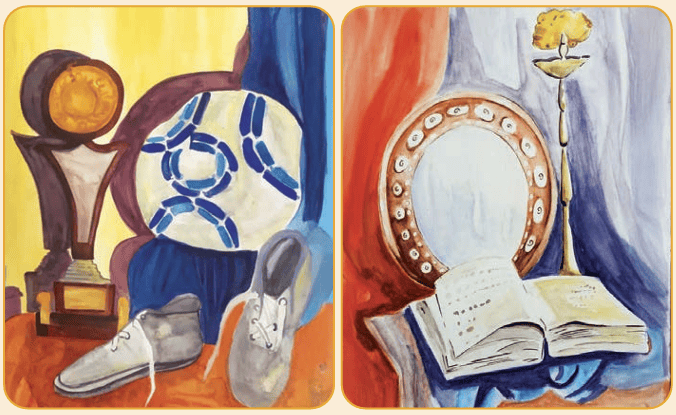
- Choose objects from your everyday life and culture, which convey your identity and belonging. You would enjoy making it because you know its minutest details. For example, a basket, clock, ball, toy, shoes, trophies, flowers, fruits, etc.
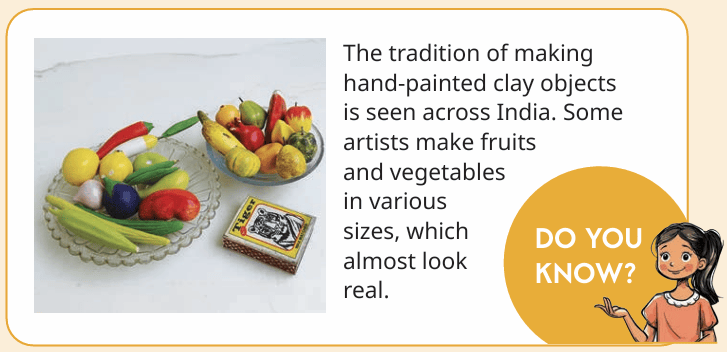
- Search for rare or unusual objects made by local artists along with other objects that complement it.
- Select three to four objects that are of varying materials, colours, textures, sizes and dimensions.
Step 2: Choosing the backdrop
Select one or two large pieces of single-coloured cloth to create a backdrop. The colour of the cloth should not distract your attention from the objects, rather complements it. If you do not have cloth, you can use any other material that would create a plain backdrop so that the objects are in focus.
A FEW OF MY FAVOURITE THINGS
Step 3: Arranging the objects
- Drape the cloth with a few folds that fall naturally.
- Place objects so that it appear to overlap a little when seen from different angles. The objects should be composed as one unit.
- Experiment with interesting placements before finalising an arrangement. For example, an object can be placed upright or on its side, or leaning on something or raised, etc.
- Light and shadow: Objects should be placed where light falls on it from one side, and creates tonalities and shadows. For this, you can partially close or open doors and windows in your classroom, or use screens, old banners, curtains or sheets to adjust, or f ilter the light.
Note to the Teacher:
Let students select objects and experiment with different arrangements on the f irst day. They can put away the arrangement till the next visual art period and rearrange the still life as decided.
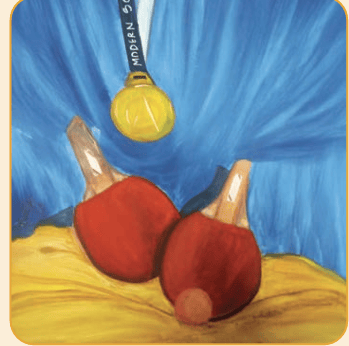
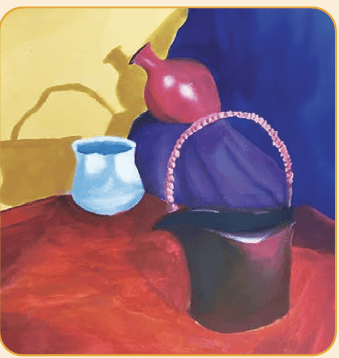
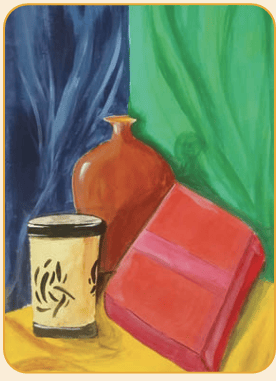
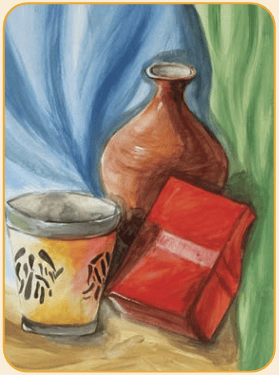
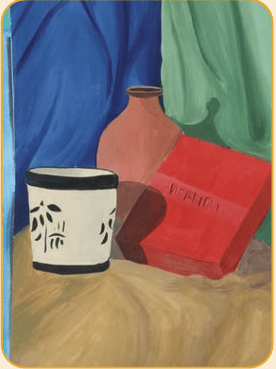
In each of these artworks, identify the side from which the light is falling.
MATERIALS
A4 size paper or 1/4 chart paper, pencils, sharpeners, erasers, colouring medium of your choice
Note to the Teacher:

- This activity will require 2 periods of 40 minutes each, preferably as a block-period.
- The still life arrangement should not be disturbed while students are working.
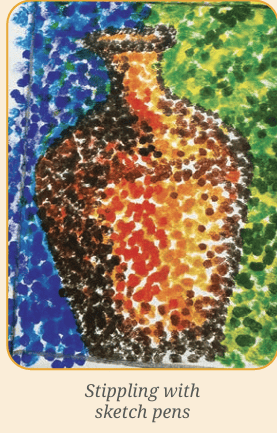
- In case students use markers or sketch pens, they can use cross-hatching and stippling techniques with different colours to achieve colour tonalities, light and shade.
- In case students choose to prepare their own colours, ensure that the colours are ready to use before beginning this activity.
- Ask students to participate in organising the seating arrangement in the classroom. They can sit around the still life arrangements in circular groups. By doing this, each student gets to view the object from a different angle.
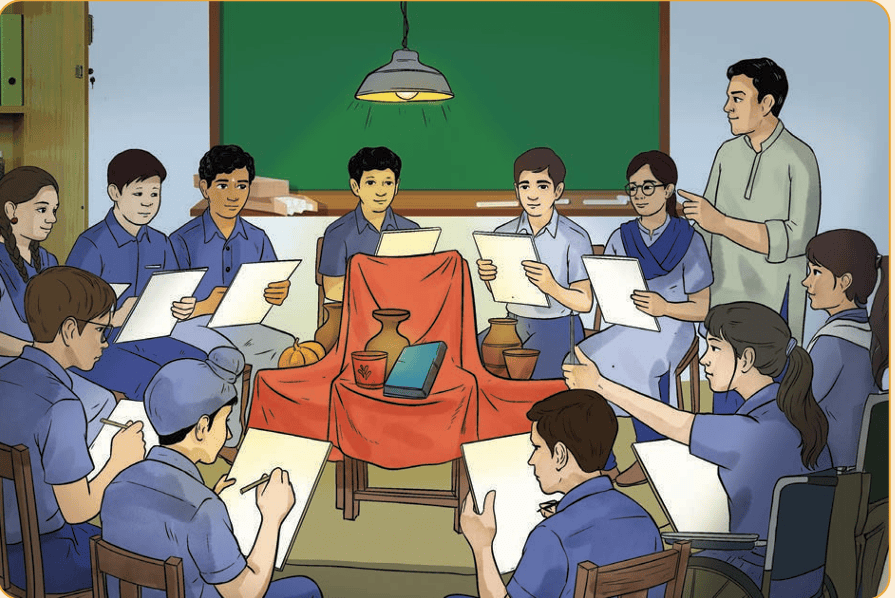
Step 1: Observe the still life from your angle
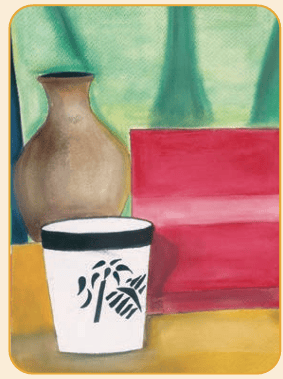
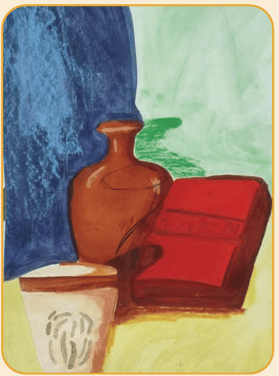
Look at the examples below, made by 5 different students. Each student would have viewed this still life from a different angle.
Find their differences and analyse by observing these points —
- The areas occupied by the blue and green backdrops.
- The overlapping portions and spaces between the objects.
- The shadows and highlights on the objects.
- The mouths of both containers.
Step 2: Five minutes observation
Look at the still life you have arranged and decide whether your drawing would fit better vertically, or horizontally. Use the maximum space on your paper for drawing.
Next, observe the following —
- The size of each object and its proportion to the others.
- The lines and contours of every object.
- Various shapes that are combined to make each object.
- Symmetries and asymmetries.
- Overlapping parts of the object (the portions that are not seen from your angle).s
- Distance between objects and the shapes of its negative spaces.s
- Angle of light and the shadows (falling on the objects, cloth and surfaces).
Step 3: Draw the contour using light lines
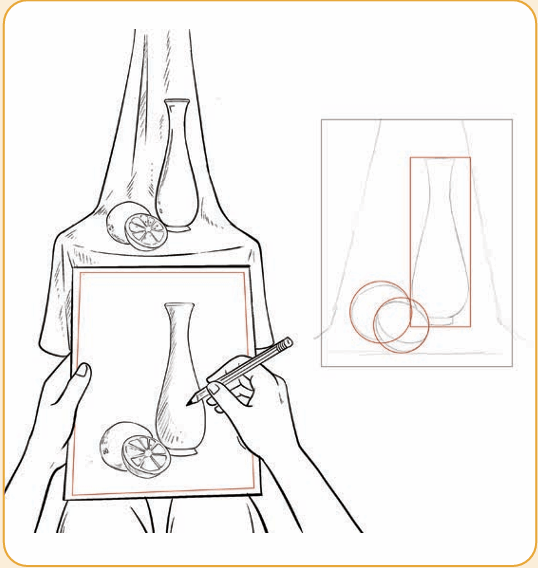
- Mark the points of various objects that would be close to the edges of your paper. This will ensure that all your objects stay within the frame.
- Mark the ratio and proportion of objects. Use your pencil to measure the proportion of the smallest object in relation to the tallest object.
Important: Note the ratios for achieving correct proportions and not drawing the actual size of the objects.
- Draw the hidden basic shapes of each object and fit it within the markings you have made.
- Complete the contour and add details using light lines.
Technical Tip
Keep lifting your head up every few seconds to observe the still life. This will improve your observation and help you achieve a close resemblance to the objects in your drawing.
Step 4: Colour the still life
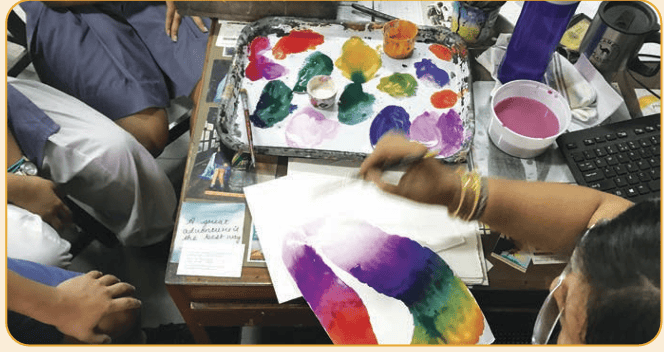
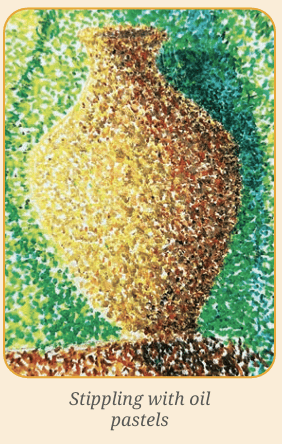
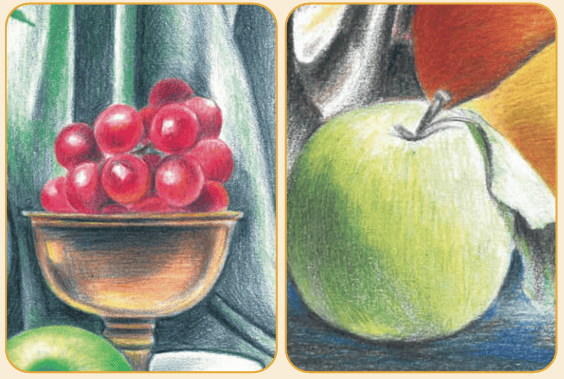
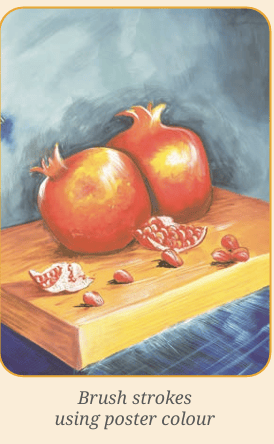
Use a medium of your choice, and try different techniques to show tones and shades of colours. Be innovative while mixing colours and experiments with varying sizes, and colours of dots, lines, strokes and patches.
ARTISTS WHO ARE KNOWN FOR THEIR STILL LIFE
Art has no boundaries and artists take inspiration from their own culture as well as from other cultures.
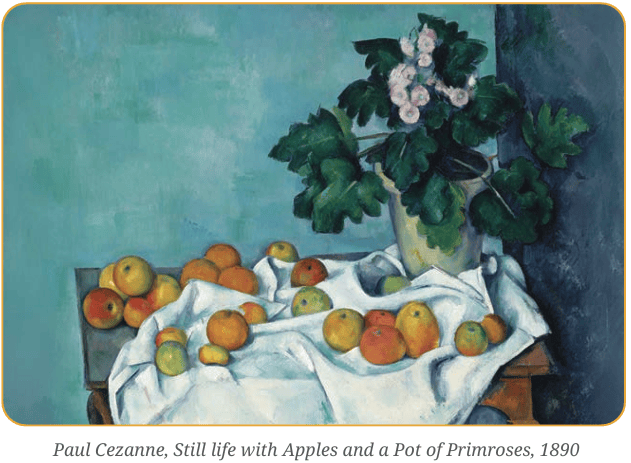
Here are two examples of still life paintings. Observe, and note down the similarities and differences in the still life arrangements, colours, brush strokes, and so on.
Paul Cezanne was a French artist of the 19th century. He was known for experimenting with new techniques of painting, which were not easily accepted by many during his time.
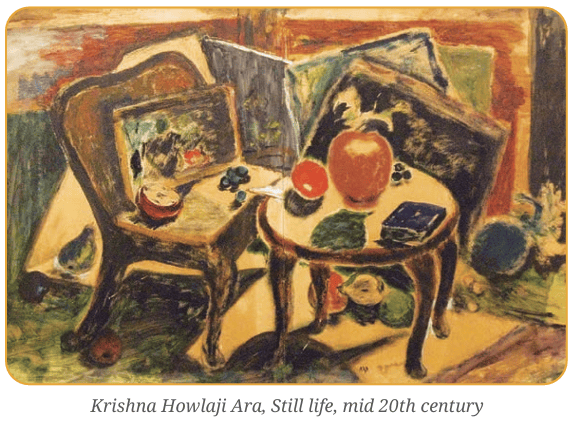
Krishna Howlaji Ara was a well-known Indian artist from the 20th century. He was a member of the Progressive Artists Group in Mumbai, who were inspired by artists from all over the world. K. H. Ara was known for his still life painting.
Note to the Teacher:
Introduce students to a
variety of still life artworks and artists.
ASSESSMENT
| CHAPTER 16: STILL LIFE IN COLOUR | ||||
|---|---|---|---|---|
| CG. | C | Learning Outcomes | Teacher | Self |
| 1 | 1.1 | Observes visual elements around them and visually records them in a journal | ||
| 2 | 2.2 | Identifies and applies visual principles in artworks | ||
| 3 | 3.1 | Use a variety of materials for journalling | ||
| Overall participation | ||||